
Disclosure: BestFishingReviews.com earns a commission on qualifying purchases made through affiliate links in this article, at no extra cost to you.
The drop shot rig has been around long enough that most bass anglers have heard of it, but a surprising number never get it quite right. The knot slips. The hook rides wrong. The weight keeps tangling on the cast. Or they just don’t know which soft plastic to thread on it and call the whole thing finesse nonsense. Here’s the thing: a properly tied drop shot is one of the deadliest finesse rigs ever put in the water, especially when fish are pressured, suspended, or hugging bottom in cold, clear conditions. It’s not complicated — but there’s a right way and a wrong way to set it up. This walkthrough covers every step, from tying the knot to picking your plastic, so you can rig one up at the boat ramp and actually catch fish on it.
See current price & availability on AmazonCheck on Amazon →What You Need Before You Start
You don’t need a lot of specialty gear, but a few things matter. For the rod, a medium-light to medium spinning setup with a fast tip is the standard call — you want to feel that subtle shake transmit down the line. Pair it with a quality spinning reel spooled with 8–10 lb fluorocarbon fishing line. Fluoro sinks, it’s nearly invisible underwater, and it has less stretch than mono, which helps you detect light bites. Some anglers run braid as a main line with a fluoro leader — that works fine too, especially if you’re fishing in deeper water where sensitivity really matters.
For hooks, you want a dedicated drop shot hook — typically a size 1, 1/0, or 2/0 light-wire hook with a wide gap. The Gamakatsu Round Bend and Owner Mosquito Hook are two of the most popular options for good reason. Light wire matters because you’ll often be nose-hooking soft plastics, and a thick hook shank will kill the action of a small bait. Finally, grab your drop shot weights — these are cylindrical or teardrop-shaped sinkers with a swivel clip or pinch-lock at the top so you can adjust depth on the fly. Have a range of sizes: 3/16 oz for shallow calm water, up to 3/8 or 1/2 oz for deeper or windier situations.
Step 1 — Tie the Palomar Knot (the Right Way)
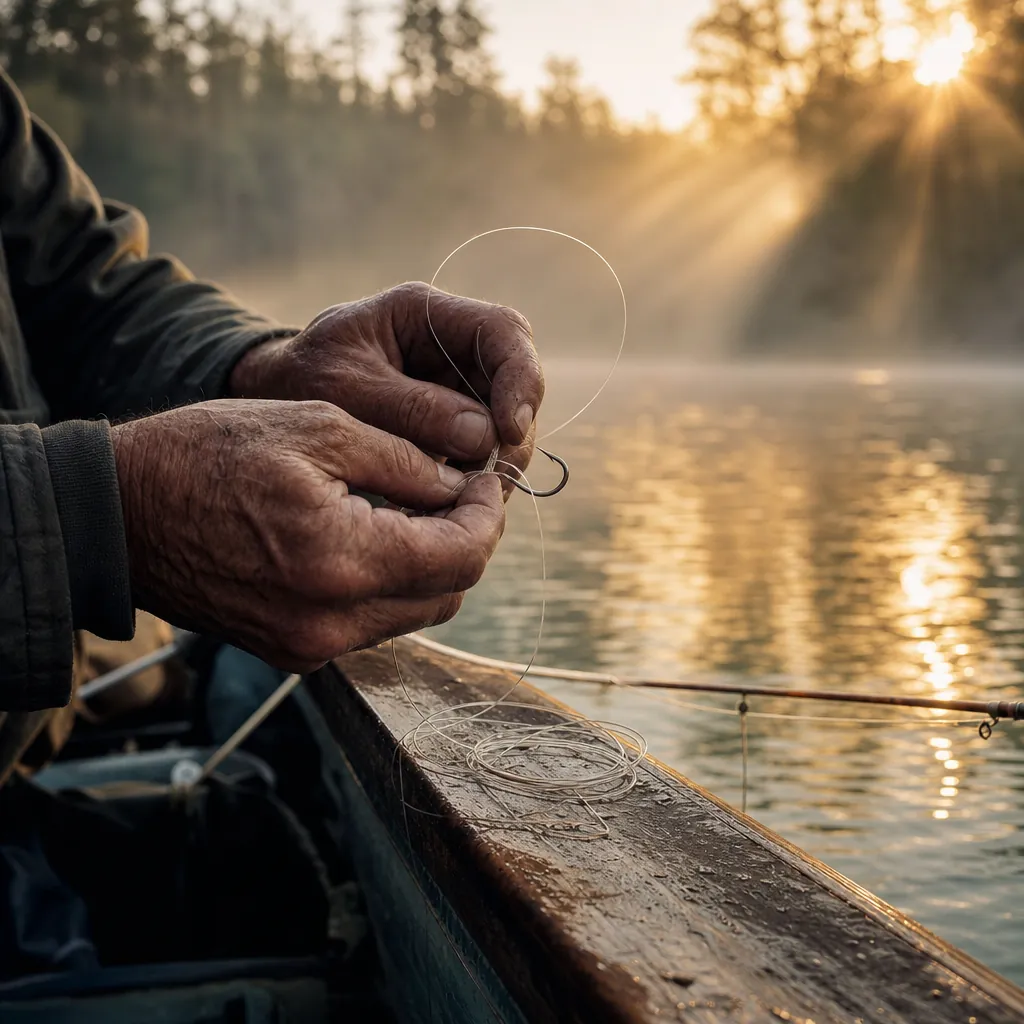
The Palomar knot is the standard for drop shotting, and for good reason: it’s one of the strongest knots you can tie, and when done correctly, it leaves your hook standing out perpendicular to the line — which is exactly what you want for proper hook orientation and bait action. Here’s how to tie it for a drop shot specifically:
Tying the Palomar for Drop Shot
- Double your line — pull off enough line from your reel to give yourself a comfortable working length, then double it over to form a loop about 6–8 inches long.
- Pass the loop through the hook eye — thread the doubled line through the eye of your drop shot hook from front to back.
- Tie a simple overhand knot — with the loop and the doubled standing line, tie a loose overhand knot. Don’t cinch it yet. The hook should be hanging down through the middle of the loop at this point.
- Pass the loop over the hook — open the loop wide and pass the entire hook through it, pulling the loop up past the hook point and the barb.
- Cinch it down — wet the knot with saliva, then pull the standing line and the tag end slowly and evenly until the knot seats firmly against the hook eye. A properly finished Palomar will leave the hook pointing upward and perpendicular to the line.
- Leave your tag end long — instead of trimming the tag end close to the knot as you would normally, leave 10–18 inches of tag end hanging below the knot. This is where your weight will go.
That tag-end length is your leader between hook and weight. Shorter (6–10 inches) keeps your bait tight to the bottom — good for crawfish or bottom-hugging presentations. Longer (12–18 inches) gives the bait more float and works better when fish are suspended a foot or two off the deck. Start at 12 inches if you’re unsure and adjust from there.
Step 2 — Attach the Weight
Once your knot is tied and you’ve left your tag end at the right length, attaching the weight is simple. Most drop shot weights use a line-clip or swivel-pinch at the top — just press the tag end into the clip, and it locks in place. The advantage of this system over tying a knot to the weight is that if the weight hangs up on the bottom, it can pull free without breaking your entire rig. You lose a weight, not a hook and three feet of line.
If you’re using a traditional barrel sinker or a weight that requires a knot, tie a simple overhand knot or clinch knot at the very end of the tag. It doesn’t need to be pretty — it just needs to hold the weight in place. Either way, the weight should hang freely below the hook when you hold the rig up. That’s your finished drop shot rig: weight on the bottom, hook suspended above it, bait riding in the strike zone.
Step 3 — Hook Orientation and Bait Rigging
This is where a lot of anglers go wrong. If your hook isn’t oriented correctly or your bait is rigged sloppy, the whole rig underperforms. When you tie the Palomar correctly, the hook should stand out at roughly a 90-degree angle from the main line, point up. That positioning is what makes the bait flutter naturally when you shake the rod tip.
Now, for the bait itself. The overwhelming favorite for drop shotting is a finesse soft plastic worm or minnow bait, typically 3–5 inches long. Think Roboworm Straight Tail, Berkley MaxScent Flat Worm, or a simple 4-inch Zoom Finesse Worm. Color-wise, start with natural shades: green pumpkin, watermelon red, and brown for clear water; slightly darker or more contrasting colors like june bug or black/blue in stained conditions. In very clear water, don’t sleep on translucent or natural shad colors either.
Nose-Hooking vs. Texas-Rigging the Bait
You have two main choices for how to rig the plastic, and each has a place:
Nose-hooking is the classic drop shot method. You simply push the hook point through the very tip of the bait’s nose, about 1/4 inch in, and leave it there — hook exposed. This gives the bait the most natural, free-swimming action. Every subtle shake of your rod translates into lifelike wiggling. The downside is you’ll miss more fish in heavy cover because the hook can foul on weeds. Nose-hooking is your first choice in open water, over sand, gravel, or rock — anywhere the hook won’t constantly snag.
Texas-rigging the bait weedless is the move when you’re fishing near grass edges, wood, or brushpiles. Thread the hook through the nose, then bury the point back into the body of the bait so it’s weedless. You’ll sacrifice a small amount of action, but you can fish places that would be impossible nose-hooked. For most open-water finesse situations, nose-hook it every time. Save the Texas rig for when cover demands it.
Step 4 — Fishing the Rig
Once it’s rigged, lower it straight down or make a short cast and let the weight touch the bottom. Keep a semi-slack line — the bait should be hovering just above the weight. Your presentation is mostly done with the rod tip: small, subtle shakes that make the bait quiver in place. You’re not hopping it aggressively like a Texas-rigged worm. You’re barely moving it, just giving it life. Let it sit. Fish it slow. A drop shot bait sitting perfectly still with an occasional subtle shake is often more effective than constant movement.
Watch your line for any twitch, jump, or sudden slack — these are bites. Drop shot fish often just pick up the bait and move sideways rather than slamming it. When you feel something, reel down and sweep the rod to the side rather than a hard upward hookset. You’re using a light-wire hook and light line; a violent hookset tears the hook out or breaks your leader.
Common Mistakes to Avoid
- Trimming the tag end too short — If you cut the tag end close to the knot like a normal tie, you have no leader for the weight. Always decide your desired hook-to-weight distance before you trim anything.
- Using the wrong hook size — A 3/0 wide-gap worm hook on a 3-inch finesse worm kills the action and looks unnatural. Match the hook size to the bait. Size 1 or 1/0 is right for most drop shot plastics.
- Fishing it too fast — The drop shot is a slow-down bait. If you’re hopping it around like a jig, you’re missing the point. Slow way down, especially in cold water.
- Ignoring the hook’s orientation — If your hook is lying flat against the line instead of sticking out perpendicular, your Palomar wasn’t finished correctly. Untie it and redo it — it matters more than you think.
- Using mono instead of fluorocarbon — Mono floats and has too much stretch for drop shotting. Fluoro or braid-to-fluoro leader is the right call every time.
- Setting the hook too hard — A sweeping side hookset with moderate pressure is all you need. Going full bass-pro power hookset on a size 1 light-wire hook is a great way to straighten the hook or break your leader right at the knot.
Wrapping Up
The drop shot is one of those rigs that rewards patience — both in learning it and fishing it. Tie the Palomar right, leave enough tag for your leader, clip your weight, nose-hook your plastic, and slow everything down. That’s really the whole formula. Once you’ve caught a few fish on it — especially fish that weren’t biting anything else — you’ll understand why serious finesse anglers always have one rigged up and ready. Tie one up before your next trip, and don’t be surprised when it outfishes the guy next to you throwing a bigger bait.