
Disclosure: BestFishingReviews.com earns a commission on purchases made through affiliate links in this article at no extra cost to you.
A quality fishing rod isn’t cheap. Whether you’re swinging a $60 entry-level spinning rod or a $400 custom graphite stick, the way you treat it between trips determines how long it performs — and whether it snaps on a fish you’ve been chasing all season. Most rod damage isn’t dramatic. It’s slow and invisible: salt crystals eating at guide inserts, a hairline crack in a ferrule that turns into a full break under load, cork handles dried out and crumbling at the edges. The fix for all of it is simple maintenance. This guide walks you through exactly what to do, from the moment you get back to the truck to how you store rods when the season wraps up.
See current price & availability on AmazonCheck on Amazon →Post-Trip Cleaning: The 10-Minute Habit That Saves Your Gear
This is the one step most anglers skip because they’re tired and the cooler full of fish needs attention first. Understandable. But skipping it — especially after saltwater fishing — is how rods quietly fall apart over a season. Salt is relentlessly corrosive. It works into guide frames, eats chrome and stainless wrappings, and leaves mineral deposits in ceramic guide inserts that eventually crack them.
The routine is fast. Here’s what to do every single time you come off the water:
- Rinse with fresh water. Use a gentle stream from a hose or a bucket — not a pressure washer. Run water over the entire rod, paying attention to each guide and the reel seat. On saltwater trips, do this before anything else, even before you break the rod down.
- Wipe down the blank. A soft cloth or microfiber towel removes grime, sunscreen residue, and any blood or slime that’s dried onto the blank. These aren’t just cosmetic issues — some fish slime is mildly acidic.
- Clean the guides specifically. A ceramic guide cleaner or a cotton swab dipped in rubbing alcohol gets into the insert groove where buildup hides. Run your fingernail or a smooth wooden toothpick around the inside of each guide ring and feel for chips or rough spots — more on why that matters in a moment.
- Let it air dry completely. Never bag or case a wet rod. Moisture trapped against cork or under wrappings breeds mildew and loosens thread coatings over time.
Guide Inspection and Repair: Catch Problems Before They Cost You Fish
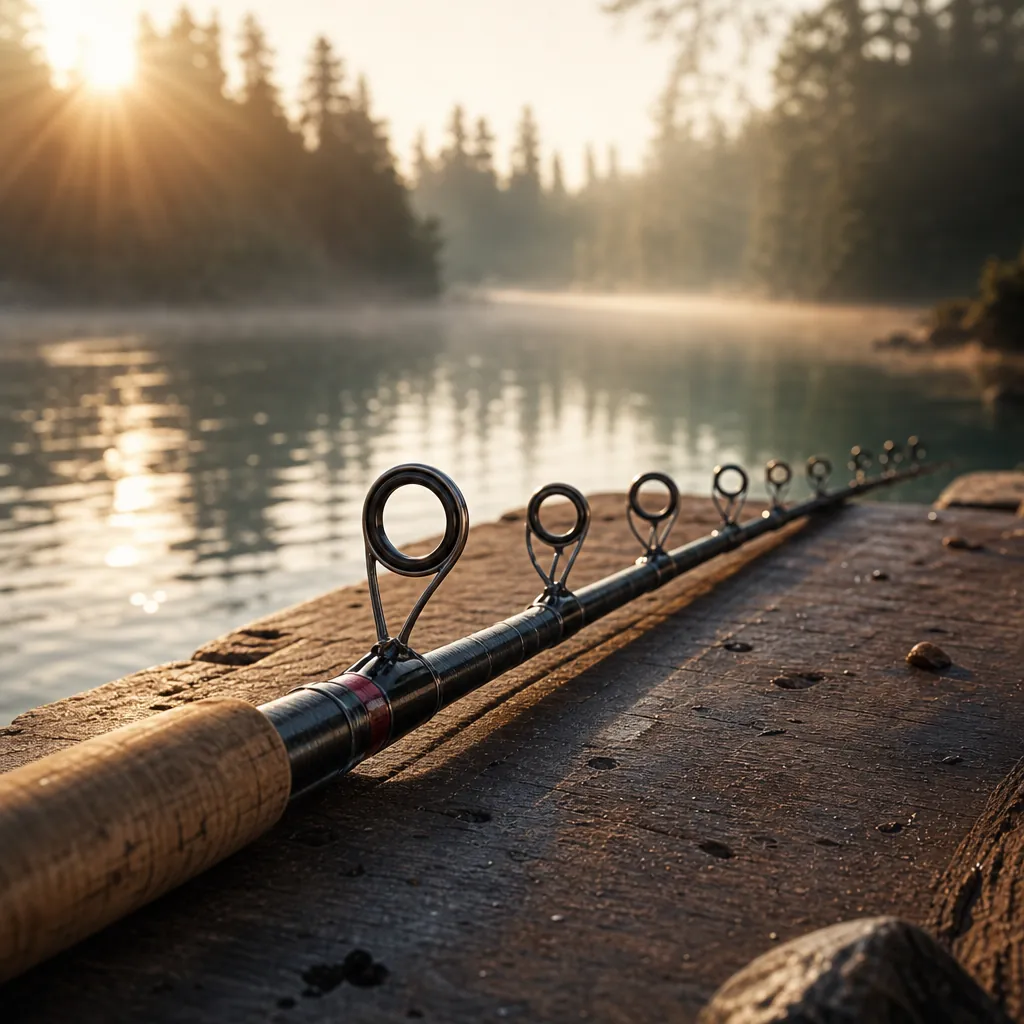
Guides are the unsung heroes of your rod, and a damaged one will destroy your fishing line faster than you’d believe. A nicked or cracked ceramic insert acts like a tiny file running against your line on every cast and retrieve. You might not notice until your line snaps on a solid hookset — at which point the fish is gone and you’re confused about why.
The inspection trick every serious angler knows: pull a small piece of nylon stocking or a cotton ball through each guide. If it snags or picks up fibers, that guide has a nick or crack and needs to be replaced. Do this check at least once a month during heavy use, and always after a rod takes a hard knock against rocks, a boat gunwale, or the inside of a car door.
For minor repairs — a guide foot that’s lifting slightly, a thread wrap starting to fray — a drop of UV-cure rod finish or epoxy rod coating handles it cleanly. Full guide replacement is a job for a rod builder or a local tackle shop with a rod lathe, but it’s inexpensive and absolutely worth doing rather than fishing a compromised stick.
Also check your tip-top regularly. It’s the guide that takes the most abuse, and it’s also the easiest to replace at home with a spare tip kit and a heat gun.
Ferrule Waxing on Multi-Piece Rods: The Step Everyone Forgets
If you fish multi-piece rods — two-piece, pack rods, travel rods — ferrule maintenance is non-negotiable. The ferrule is the joint where sections meet, and it takes enormous stress during casting and fighting fish. Over time, ferrules either loosen (and the rod wobbles at the joint, killing your sensitivity and eventually cracking the blank) or they seize (and you’re standing on the bank wrestling two rod sections apart like you’re trying to open a stuck pickle jar).
The solution is wax. Plain paraffin candle wax or a stick of ferrule wax rubbed lightly over the male ferrule every few outings keeps the fit snug without letting it bond permanently. Here’s the right way to do it:
How to Wax a Ferrule
- Clean the male (smaller) ferrule section with a dry cloth to remove old wax residue and grit.
- Rub a thin, even layer of paraffin or ferrule wax over the male section. You want coverage, not buildup — a light coat is all it takes.
- Join the sections and rotate them slightly as you seat them fully. The wax distributes evenly and creates a firm, slip-free connection.
- To separate, grip near the joint and twist counter-clockwise while pulling steadily. Never crank sections apart by holding the guides — that’s how you break them.
Do this once a month during the season, and before any trip where you’re fishing multi-piece rods in heat (which expands blanks and makes ferrules even tighter).
Cork Handle Conditioning: Keep the Grip Comfortable and Intact
Cork is a natural material, and like wood, it needs occasional moisture to stay supple and avoid cracking. Dry cork crumbles at the edges, develops pits, and eventually starts separating from the blank in chunks. This is almost always a care problem, not a quality problem.
A cork conditioner applied two or three times per season keeps handles looking and feeling like new. The process takes five minutes:
- Wipe the handle clean and dry.
- Apply a small amount of conditioner with a soft cloth, working it into the cork in a circular motion.
- Let it absorb for 10-15 minutes, then buff off any excess.
For pitted or dinged cork — the normal wear from hooks and line guides — mix fine cork dust (or a pinch of fine sawdust) with wood glue into a paste, press it into the pits, let it dry fully, then sand smooth with 220-grit sandpaper. Finish with conditioner and it looks nearly factory-fresh. It’s a satisfying fix that takes maybe 20 minutes total.
Vertical vs. Horizontal Storage: How You Store Rods Matters More Than You Think
Improper storage is responsible for more rod damage than fishing is. Here’s how to think through your storage setup:
Vertical Storage
Storing rods tip-up in a rack or rod holder is generally the safest option for graphite and fiberglass blanks. Gravity works with the rod’s natural taper, there’s no lateral stress on the blank, and tips aren’t pressed against anything. Wall-mounted vertical racks work well in garages and workshops. The one caveat: don’t cram rods together so tightly that guides are pressing against neighboring blanks — one bump and you’ve chipped an insert.
Horizontal Storage
Ceiling-mounted horizontal rod racks are a popular garage solution and work fine if the supports are spaced correctly — roughly every 18-24 inches along the rod’s length to prevent any sag. Never support a rod only at the handle and tip. The unsupported middle will develop a set (a permanent bend) over time, especially in heat.
Rod Sleeves and Cases
For transport and any rod you’re not fishing regularly, a rod sleeve is one of the cheapest insurance policies in fishing. These fabric tubes slip over individual rods, protect guides from contact damage, and prevent blanks from scratching each other when stored together in a rod tube or bag. A good rod sleeve costs a few dollars and can prevent a snapped tip or chipped guide that costs ten times that to fix. If you travel with rods — in a car, on a plane, in a truck bed — use sleeves inside a hard or semi-hard rod case. Period.
A few things to avoid regardless of storage method:
- Never lean rods against a wall at a sharp angle for extended periods. The blank will take a set at the contact point.
- Keep rods out of direct sunlight in storage. UV degrades both the blank material and the thread finish on wraps over time.
- Don’t store rods in a hot car trunk. Temperatures in a closed trunk on a summer day can exceed 150°F, which is enough to soften epoxy wrappings and loosen guide feet.
Off-Season Prep: Putting Rods Away Right
If you’re heading into a slow season — ice fishing only, or a winter break — take an hour to prep your rods properly before they go into storage. Future you will be glad you did when you’re rigging up in March.
- Do a thorough cleaning and guide inspection using the steps above. Find and fix any problems now, not at the start of next season when shops are busy.
- Condition cork handles before storage. Cork dries out faster in low-humidity winter conditions.
- Remove reels if possible. Storing rods reel-free reduces stress on reel seats and lets you service reels separately.
- Sleeve every rod and store in a rod bag or tube in a climate-controlled space. Garages work fine if they don’t freeze; avoid damp basements where mold can get into cork and thread wraps.
- Wax ferrules on all multi-piece rods before they go away for the season. This prevents the female ferrule from drying and contracting around the male section.
Common Mistakes
Even experienced anglers make these. Knowing them is half the battle:
- Fishing with a damaged guide. You already know this destroys line, but it’s worth repeating because it happens constantly. If you feel a rough spot on a guide, take five minutes to swap it or tape it off until you can. Don’t fish it as-is.
- Over-tightening reel seats during storage. Some anglers crank down reel seats tight before storing. This puts constant stress on the graphite around the seat and can cause micro-cracks over time. Snug is fine; gorilla-tight is not.
- Carrying multiple rods loose in the truck bed. This is probably the single most common way guides get broken. Even a short drive down a bumpy road will have rod tips whipping against each other. Use a rod rack or tube every time.
- Using harsh soaps or solvents to clean blanks. Mild dish soap and fresh water is all you need for the blank. Solvents can attack thread finish and some clear coats.
- Closing rod sections with the guides misaligned. On a two-piece rod, it’s tempting to just twist and pull. If your guides aren’t roughly lined up before you pull, you’re stressing the ferrule at an angle — which is how ferrules crack.
Wrap-Up
None of this is complicated, and none of it takes much time. A rinse after every trip, a guide check once a month, a little wax on the ferrules, and smart storage habits — that’s genuinely all it takes to keep a good rod fishing well for a decade or more. The anglers who treat their gear right aren’t gear snobs; they’re just practical. They show up on the water ready to fish instead of dealing with preventable equipment failures. Build the habits now, and you’ll stop replacing rods you should still be fishing.