
Disclosure: BestFishingReviews.com is a participant in the Amazon Services LLC Associates Program. If you buy something through our links, we may earn a small commission at no extra cost to you.
Fishing gear breaks. It’s not a matter of if — it’s when. A rod tip snaps on a car door, a reel handle gets crusty with saltwater corrosion, a tackle box latch gives up the ghost right before a tournament. Most anglers either toss the busted gear or pay shop prices to fix something that takes fifteen minutes with the right know-how. Neither option makes much sense. These five repairs are dead simple, cost next to nothing, and will keep your kit fishing-ready all season long. You don’t need to be a tackle technician — you just need a little patience and the right materials.
See current price & availability on AmazonCheck on Amazon →How We Picked These Repairs
We focused on repairs that show up most often at the boat ramp and in the field — the kind of failures that sideline good gear before its time. Each one can be done at home with basic tools, minimal cost, and no specialized training. We also made sure every fix covered here actually holds up under real fishing conditions, not just in a garage once and never again.
1. Replacing a Broken Rod Tip
A snapped rod tip is probably the single most common piece of fishing gear damage out there. Good news: it’s also one of the easiest fixes. You’ll need a replacement tip-top guide sized to match your rod’s tip diameter (measure in millimeters with a caliper or tape), some rod tip repair epoxy or ferrule cement, and a lighter. Slide the new tip-top onto the rod blank to check fit. If it’s loose, wrap a thin layer of thread around the blank first. Heat the ferrule cement stick until it beads, apply it inside the tip-top, then slide it onto the blank and hold it straight for about 30 seconds while it cools. Done. The whole job takes under five minutes and costs around two bucks in materials. Make sure the guide ring sits perfectly aligned with the rest of your guides — a crooked tip-top will kill your casting accuracy and wear your line fast.
Best for: Any angler with a snapped or missing rod tip on a spinning, casting, or fly rod.
- ✅ Costs almost nothing — replacement tips are often sold in multi-packs
- ✅ No special skill required; done in minutes
- ❌ You must get the diameter right — a tip that’s too large won’t hold under load
2. Swapping a Damaged Line Guide
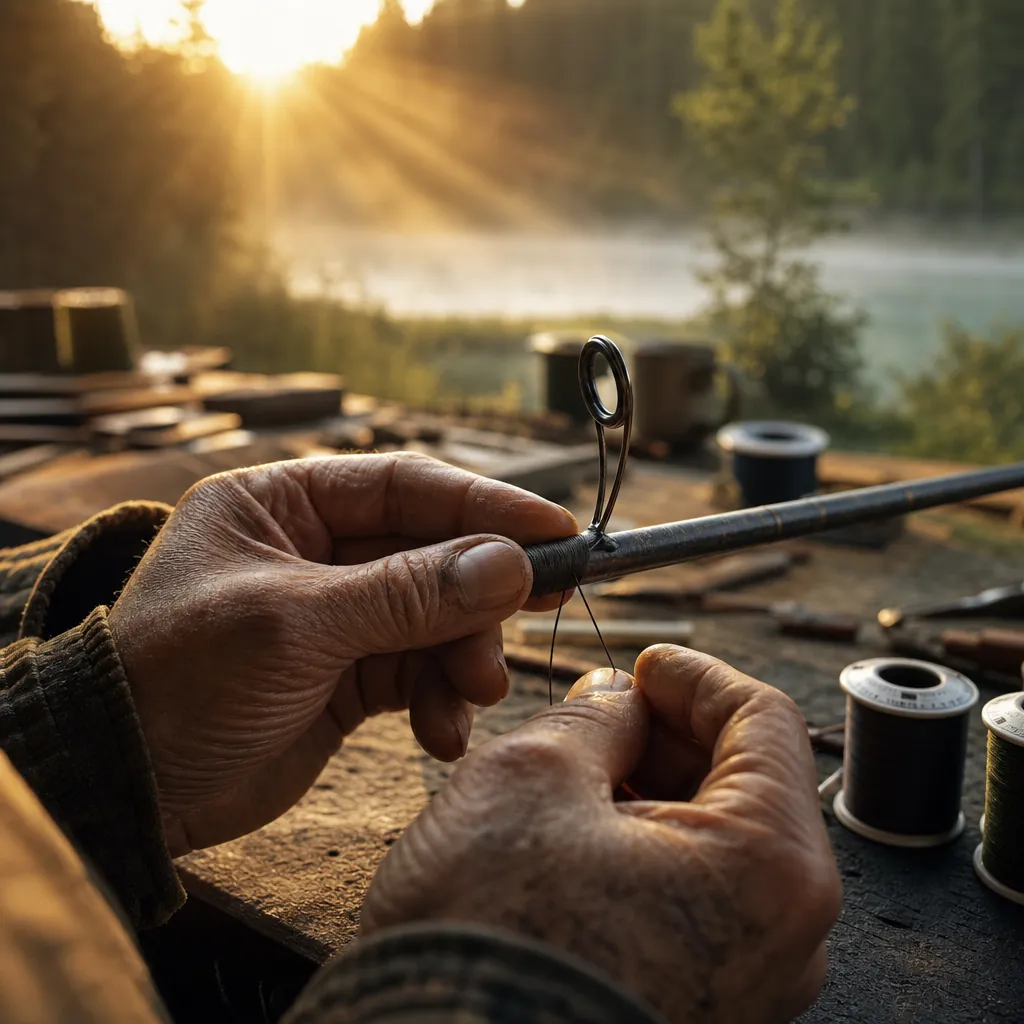
Run your finger around the inside of every guide on your rod a couple times a season. If you feel a nick, a crack, or a groove, that guide is cutting your line every single cast. A cracked ceramic insert will destroy fluorocarbon in a hurry. Replacing a guide isn’t quite as fast as a tip-top fix, but it’s still a home-garage job. You’ll need a replacement rod guide in the right frame size, rod wrapping thread, a thread bobbin or some tape to act as tension, and two-part epoxy rod finish. Remove the old guide by carefully cutting the existing thread wrap with a razor blade — go slow and don’t gouge the blank. Position the new guide, tape the feet down temporarily, then wrap thread over each foot in tight, even turns. Apply a thin coat of rod finish epoxy over the wraps, let it cure per the manufacturer’s instructions (usually 24 hours), and you’re back in business. A cracked guide left unfixed is a ticking clock on your best fishing line.
Best for: Anglers who fish frequently and want to extend the life of quality rods rather than replace them.
- ✅ Saves a quality rod blank that’s otherwise in perfect shape
- ✅ Thread and epoxy are cheap and reusable across multiple repairs
- ❌ Takes patience — rushing the thread wrap leads to ugly, uneven results
3. Cleaning a Corroded Reel Handle
Saltwater corrosion on a reel handle isn’t just ugly — it makes the reel unpleasant to crank and can eventually seize the handle knob entirely. Before you write off a crusty handle, try this. Remove the handle from the reel (usually one screw or nut on the side plate). Soak it in a cup of white vinegar for 15–20 minutes to loosen heavy oxidation, then scrub with an old toothbrush. For stubborn spots, a little baking soda paste applied with the brush works well. Rinse thoroughly with fresh water, dry completely, and apply a light coat of reel-safe lubricant or corrosion inhibitor to the handle shaft and knob pivot before reassembly. If the knob itself is frozen on its bearing, a drop of penetrating oil left to soak overnight usually breaks it free. This fix rescues handles on reels that cost $100 or more and takes less time than rigging a new rod. Do it at the end of every saltwater season whether the handle looks corroded or not — prevention is faster than repair.
Best for: Saltwater anglers or anyone who stores gear without rinsing it down first.
- ✅ Most supplies (vinegar, baking soda, toothbrush) are already in your house
- ✅ Works as a seasonal maintenance step, not just an emergency fix
- ❌ Severely corroded aluminum handles may be too far gone — inspect the threads carefully before reassembly
4. Restringing a Baitcaster
A baitcaster that’s running old, twisted, or damaged line is a bird’s nest waiting to happen. Restringing one isn’t hard, but the process is a little different from spooling a spinning reel and it trips people up enough that it’s worth walking through clearly. First, strip all the old line off — clip it, run it out, get rid of it. Thread your new line through the levelwind guide and tie it to the spool with an arbor knot (two half hitches works fine). Close the spool tension knob just enough that the spool doesn’t free-spin. Hold the line spool so it feeds off the front — unlike a spinning reel, you want the line coming off in the same rotational direction it goes onto the baitcaster spool. Keep steady tension with a rag or your fingers as a partner slowly cranks the handle, or use a line spooling tool. Fill to about ⅛ inch from the spool rim — overfilling causes overruns, underfilling kills casting distance. For most baitcaster applications, 10–17 lb fluorocarbon or monofilament spools cleanly and behaves well. Braided line on a baitcaster needs a mono backing first to prevent slippage on the spool. After spooling, go outside and make a few easy casts to let the line settle before you dial in your brakes for distance.
Best for: Bass, pike, and inshore anglers running baitcasting setups who want to skip the tackle shop trip.
- ✅ Fresh line is one of the single biggest performance upgrades you can make for free (just your time)
- ✅ Catches issues like frays and weak spots before they cost you a fish
- ❌ Overfilling or wrong line lay direction causes immediate backlash problems — pay attention to direction
5. Fixing a Tackle Box Latch
A tackle box that springs open and dumps your plastics across the boat floor is the kind of thing that turns a good fishing day sideways fast. Most box latch failures fall into two categories: a broken plastic tab or a metal clasp that’s bent out of shape. For a bent metal clasp, needle-nose pliers can usually reshape it back to functional in about two minutes — bend it carefully and test the tension before calling it fixed. For a snapped plastic tab, the easiest permanent fix is a small barrel bolt or a replacement box latch hardware set from the hardware store, which costs under three dollars and installs with two small screws. If the hinge side is cracked, a strip of heavy-duty waterproof tape applied inside and outside the crack can hold it through a season — it’s not pretty but it works. The point is, a busted tackle box doesn’t need to be trashed or babied all day. Two minutes of work and a couple of screws keeps your whole system organized and your hooks where they belong. While you’re at it, give the tray pivots a shot of silicone spray so they open and close smoothly.
Best for: Any angler running hard-sided tackle boxes, especially older ones that still have solid trays and dividers worth keeping.
- ✅ Hardware-store fix costs less than a dollar per latch in most cases
- ✅ Keeps a solid box in service rather than sending it to the landfill
- ❌ If the box body itself is cracked or warped, no latch fix will make it waterproof again
Quick Comparison: DIY Repairs at a Glance
- Rod Tip Replacement — Easiest fix on the list; under 5 minutes; ferrule cement and a tip-top kit required
- Guide Swap — Moderate difficulty; 1–2 hours including cure time; thread, epoxy, replacement guide needed
- Reel Handle Corrosion Cleanup — Easy; 30–45 minutes; mostly household supplies plus reel lubricant
- Baitcaster Restringing — Easy to moderate; 15–20 minutes; new line and a line management method required
- Tackle Box Latch Repair — Very easy; 5–10 minutes; pliers or small hardware set
None of these repairs require a trip to a rod-building shop or a reel technician. They require maybe an hour of your time across the whole list and a handful of materials that cost less than a single lost crankbait. Good gear is worth maintaining — a rod blank, a quality reel frame, and a well-organized tackle box don’t wear out, the small stuff around them does. Learn these fixes once, keep the supplies in a small bag in your truck, and you’ll spend a lot less time frustrated and a lot more time with a line in the water where it belongs.